
To align like a pro, start by using a straightedge or ruler to guarantee straight lines and check with a square for perfect corners. Use a level for horizontal and vertical accuracy, and mark reference points with a pencil or chalk. Secure components with clamps while you work, and double-check measurements with a tape measure from multiple angles. Visual guides and calibration tools help maintain precision, so mastering these tricks will ensure your projects stay on point—more tips await if you continue.
Key Takeaways
- Use a straightedge or ruler and check for gaps to ensure perfect straightness and squareness.
- Employ a spirit bubble level or laser level to verify horizontal and vertical alignment accurately.
- Mark reference points clearly with pencils or painter’s tape for precise measurements and cuts.
- Secure components with clamps close to work areas, then double-check alignment before fastening.
- Regularly verify and calibrate measurement tools to maintain ongoing accuracy and consistency.
Use a Straightedge or Ruler for Basic Alignment

Have you ever struggled to align objects neatly? Using a straightedge or ruler simplifies this task. First, measure the length with a measuring tape to guarantee accuracy. Place the straightedge along the edges you want to align, keeping it steady. For larger projects, an alignment jig can help maintain consistent spacing and straightness. The jig holds your tools in place, reducing errors and saving time. Double-check your measurements before marking or cutting to avoid mistakes. Keep the straightedge flat against the surface, and make certain it’s flush with the edges you’re aligning. This simple step ensures your objects are straight and neat, giving your project a professional finish. Mastering basic alignment with these tools sets a solid foundation for more precise craftsmanship. Additionally, understanding the role of contrast ratio can inspire a sense of curiosity and attention to detail in your work. Exploring rhythm failure concepts can also help you develop a more rhythmic and harmonious approach to your projects. Incorporating awareness of European cloud innovation can further enhance your understanding of modern technology trends. Recognizing auditory processing challenges can help you tailor your techniques for better results.
Employ a Level for Horizontal and Vertical Precision
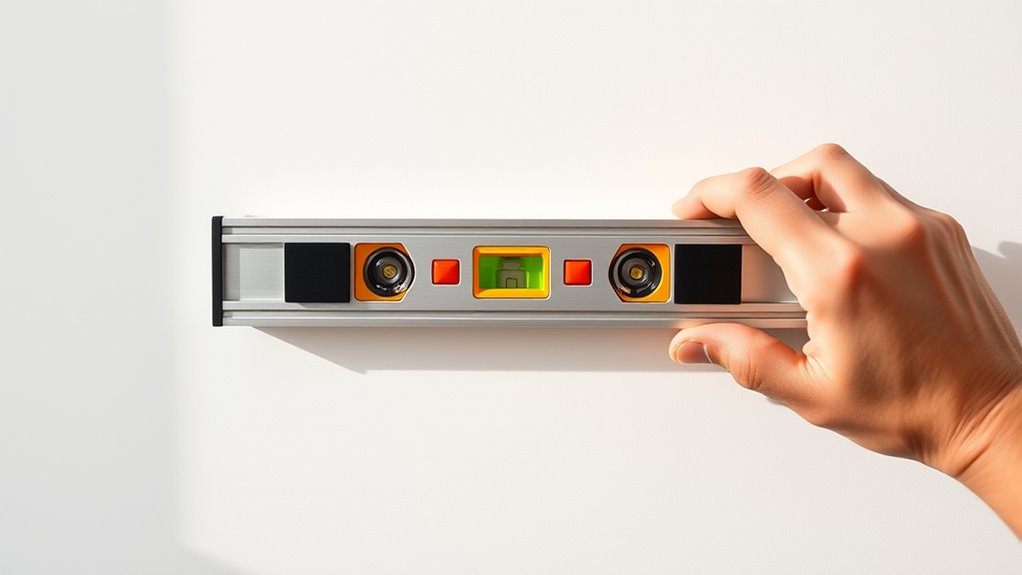
Using a level guarantees your projects are perfectly horizontal or vertical, preventing crooked results that can compromise the overall look. A traditional spirit bubble level is reliable for quick checks, but for enhanced accuracy, consider a laser level. Laser levels project a straight, visible line across surfaces, making it easier to align multiple points precisely. When using a spirit bubble, ensure the bubble is centered to confirm proper alignment; it’s simple but effective. For larger or more complex tasks, a laser level provides consistent, precise horizontal and vertical lines, saving you time and reducing errors. Always double-check your level’s calibration before starting, and for best results, use a tripod or mounting bracket. This approach guarantees your project’s alignment remains accurate throughout the process. Proper calibration of your tools is essential for achieving reliable and accurate results. Additionally, understanding alignment techniques can further improve your project outcomes, especially when integrating modern technological tools like digital levels. Being aware of proper measurement practices can also enhance your overall accuracy and efficiency. Incorporating modern calibration methods helps maintain the precision of your tools over time, ensuring consistent results.
Mark Reference Points With a Pencil or Chalk

Before you start cutting or drilling, clearly mark your reference points with a pencil or chalk. This step guarantees accurate alignment and prevents mistakes. Use a pencil for fine, precise marks on smooth surfaces, while chalk works better on rough or uneven surfaces. Properly marking reference points creates a visual guide for your work, reducing guesswork. Additionally, understanding best tools for marking can further improve your accuracy. Choosing the right tool helps you mark reference points clearly, leading to more accurate results and a professional finish. Incorporating techniques from artistic practices, such as precise line work, can also enhance your marking accuracy and overall project quality. Using measurement tools for double-checking your marks can further ensure precision before proceeding. Paying attention to measurement accuracy is essential for achieving precise alignment in your projects. Recognizing the importance of AI ethics in modern technology can also inspire more responsible and trustworthy project outcomes.
Leverage Clamps to Hold Components Steady
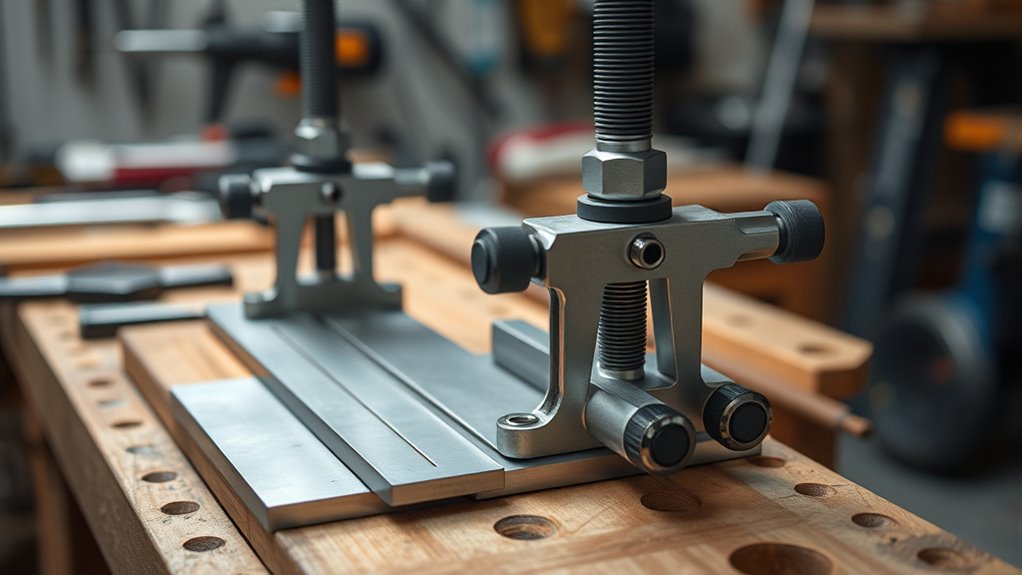
Clamps are your best allies for keeping components steady during cutting, drilling, or assembly. Proper clamp positioning is essential to guarantee stability enhancement and prevent slips or shifts. Place clamps close to the work area, applying even pressure to hold pieces securely without causing damage. Adjust the clamps so they don’t interfere with tools or the cutting path. Use enough clamps to distribute hold evenly, especially on larger or irregular shapes. By leveraging clamps effectively, you create a stable setup that improves precision and safety. Remember, the goal is to keep everything immobile without over-tightening, which could deform materials. Proper clamp placement is crucial for maintaining workpiece integrity and achieving accurate results. With the right clamp positioning, your components stay steady, making your work more accurate and efficient.
Incorporate a Square to Achieve Perfect Corners
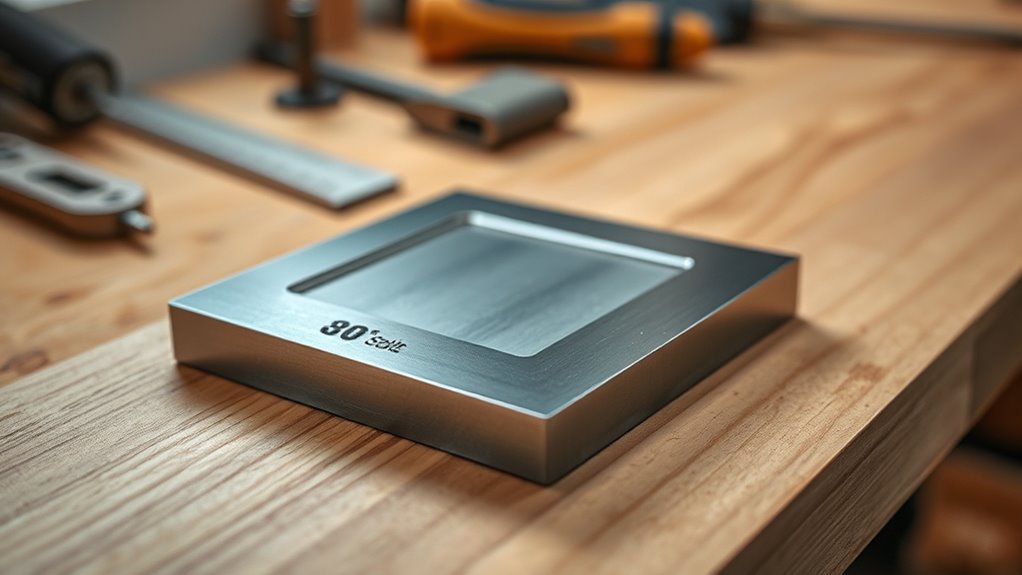
To get perfect corners, start by choosing the right square for your project. Make sure to check for squareness before securing the pieces, ensuring everything lines up correctly. Properly securing the corner is essential for achieving a precise, professional finish. Additionally, considering customer reviews and reputation can help you select the most reliable tools and materials for your project. Being aware of essential oils and their properties can also inspire creative techniques and enhance your craftsmanship, leading to more satisfying results. Incorporating safety precautions when working with tools and materials can further improve the quality and safety of your project. Paying attention to body jewelry measurements and materials can ensure your project is both comfortable and durable, reducing the need for adjustments later. Embracing artistic expression and exploring creative techniques can also enhance your overall craftsmanship and satisfaction with the finished work.
Selecting the Right Square
Have you ever struggled to get perfect corners when assembling a project? The key is choosing the right square. Start by evaluating your needs: for precise, small projects, a steel or aluminum carpenter’s square offers accuracy and durability. If you’re working on larger pieces, a longer framing square gives you more reach. Don’t forget to measure carefully with a measuring tape to confirm dimensions before squaring. Look for a square with clear, easy-to-read markings and a sturdy, accurate blade. Verify the square’s stock is solid and free of warping. Remember that tool calibration ensures your measurements remain precise over time. When working with electric bikes or similar equipment, understanding horsepower can help you select the right model for your needs. The right tool makes all the difference in achieving perfect, professional corners. Selecting the proper square saves time, reduces errors, and guarantees your project stays aligned and true.
Checking for Squareness
Wondering if your corners are truly square? To check, use a square to verify angles and measure diagonals. If the diagonals are equal, your corners are likely square; if not, adjustments are needed. Here’s a quick method:
| Step | Action | Tip |
|---|---|---|
| 1 | Place the square in the corner | Ensure it’s flush against both sides |
| 2 | Check for gaps | Tight fit indicates a good angle |
| 3 | Measure diagonals | If equal, corners are square; if unequal, recheck |
| Diagonals | Measure | Result |
| 1 | From corner to opposite corner | Compare lengths |
| 2 | From other corner to opposite | |
| 3 | Check for equality | Ensures proper squareness |
Measuring diagonals and checking angles confirm your corners are accurate. Additionally, proper measurement techniques help prevent common errors and ensure precision in your projects.
Securing the Corner Properly
Securing the corner properly is essential for a tight, professional finish, and using a square makes this process much easier. Place the square in the corner to ensure your pieces are aligned at a perfect 90 degrees, providing reliable corner reinforcement. Once aligned, insert your securing fasteners—such as nails or screws—through the designated holes, starting with one fastener to hold everything in place. Check the alignment again and add additional securing fasteners to reinforce the corner firmly. This method guarantees your corners stay true and prevents shifting during assembly. Properly securing fasteners with the help of a square not only improves accuracy but also results in a stronger, cleaner corner joint. Using proper fastener placement ensures your project maintains structural integrity and a neat appearance. Incorporating measuring tools like squares and levels can further enhance precision and consistency. Trust this simple trick for consistent, professional-quality corners every time.
Utilize a Plumb Line for Vertical Alignment
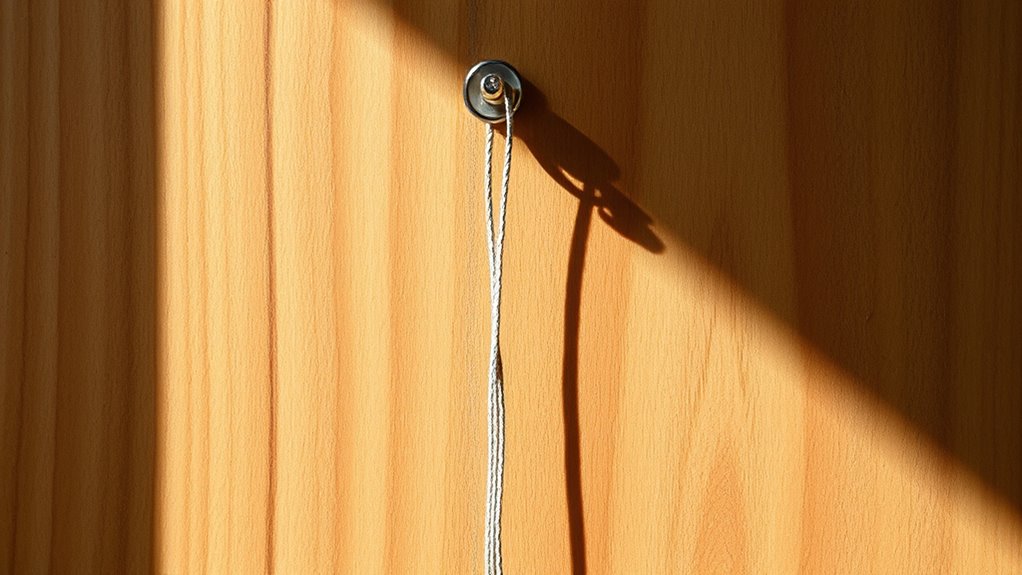
Ever wondered how professionals achieve perfectly vertical lines in their projects? The key is using a plumb line for vertical alignment. Start with proper plumb line installation—attach the weight securely to guarantee accuracy. Hold or suspend the plumb line close to the surface you’re working on, making sure the line hangs freely without obstruction. Use it to check if your structure or markings are perfectly vertical, adjusting as needed. This simple tool is a crucial part of vertical alignment techniques, providing a reliable reference point. Keep the line steady and focus on the point where the string crosses your marked line or surface. Using a plumb line regularly helps you maintain precise verticality, resulting in cleaner, more professional results in any project.
Apply Tape Measures for Accurate Spacing

Using a tape measure is essential for achieving accurate spacing in your projects. To guarantee precision, use proper measuring techniques, like locking the tape in place and keeping it taut to avoid slack. When measuring, always start from a fixed point and double-check your readings to confirm consistency. For spacing consistency, mark your measurements clearly with a pencil or painter’s tape, and avoid rushing through the process. Make small, deliberate adjustments as needed, and verify measurements from multiple angles if possible. Using these methods, you’ll create even, reliable gaps and alignments. A steady hand and attention to detail make all the difference in applying your tape measure effectively, leading to professional-looking results every time.
Take Advantage of Visual Guides and Grids
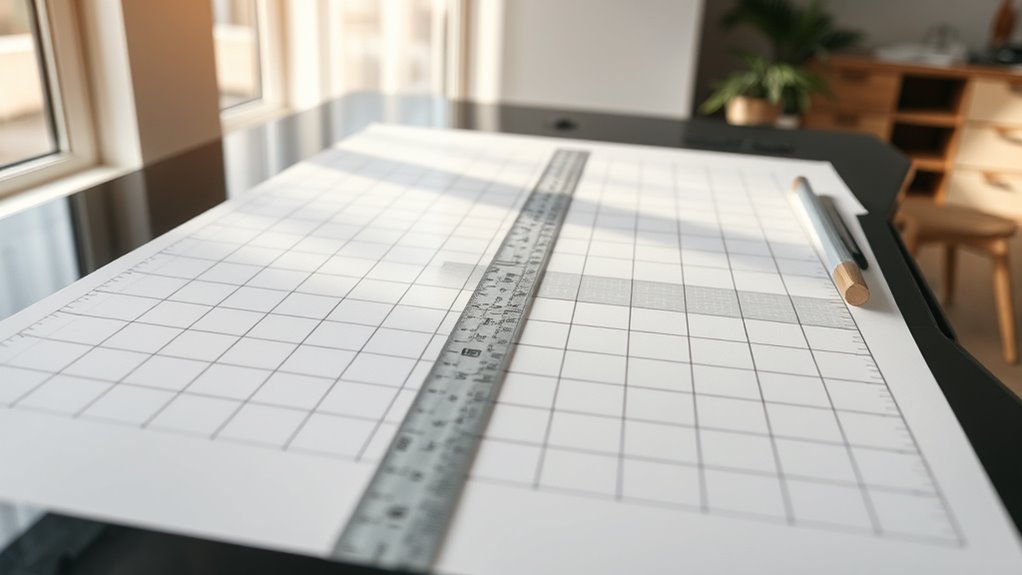
Leveraging visual guides and grids can greatly boost your accuracy when aligning measurements. These tools help you attain precise visual alignment and improve consistency across projects. To maximize their benefits:
Using visual guides and grids enhances measurement accuracy and consistency across projects.
- Use grid utilization to break complex measurements into manageable sections, reducing errors.
- Align edges and reference points with the grid lines to ensure straight, accurate results.
- Keep your workspace organized, making it easier to spot misalignments early and correct them promptly.
Use a Calibration Tool to Ensure Measurement Accuracy
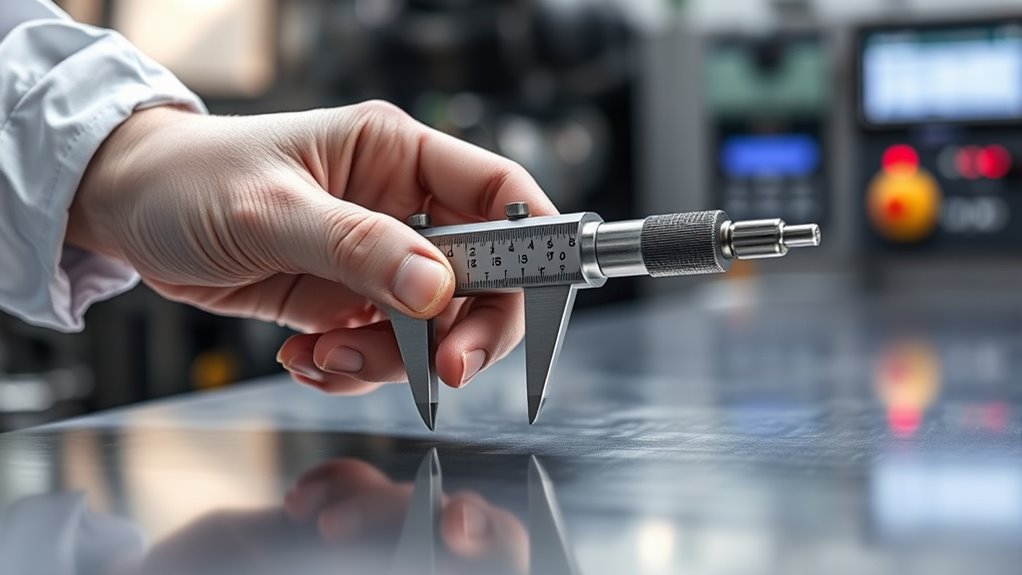
Choosing the right calibration tool is essential to get accurate measurements every time. You should regularly verify your calibration results to catch any discrepancies early. This simple step helps make certain your work stays precise and reliable.
Select Appropriate Calibration Tool
Selecting the right calibration tool is essential to guarantee your measurements stay accurate and reliable. Using the appropriate precision tools ensures you maintain measurement accuracy and avoid costly errors. To choose the best calibration tool:
- Consider the specific measurement range you need—using a tool compatible with your equipment prevents inaccuracies.
- Check the calibration standards and traceability to national or international references, ensuring consistency.
- Prioritize tools made from durable, high-quality materials that resist wear and environmental factors.
Regularly Verify Calibration Results
Once you’ve chosen the right calibration tool, it’s important to verify your calibration results regularly. This practice helps detect sensor drift early, maintaining measurement consistency over time. Regular checks ensure your equipment produces reliable data and prevents costly errors. Use calibration standards or reference devices to compare against your measurements and spot discrepancies. To stay organized, track calibration dates and results systematically. Here’s a quick overview:
| Calibration Check | Action Needed | Frequency |
|---|---|---|
| Sensor Drift | Recalibrate if drift exceeds limits | Monthly or after major use |
| Measurement Consistency | Confirm readings match standards | Weekly |
| Calibration Results | Log and review for trends | After each calibration |
Consistent verification keeps your alignment precise and your measurements trustworthy.
Double-Check With a Test Fit Before Finalizing
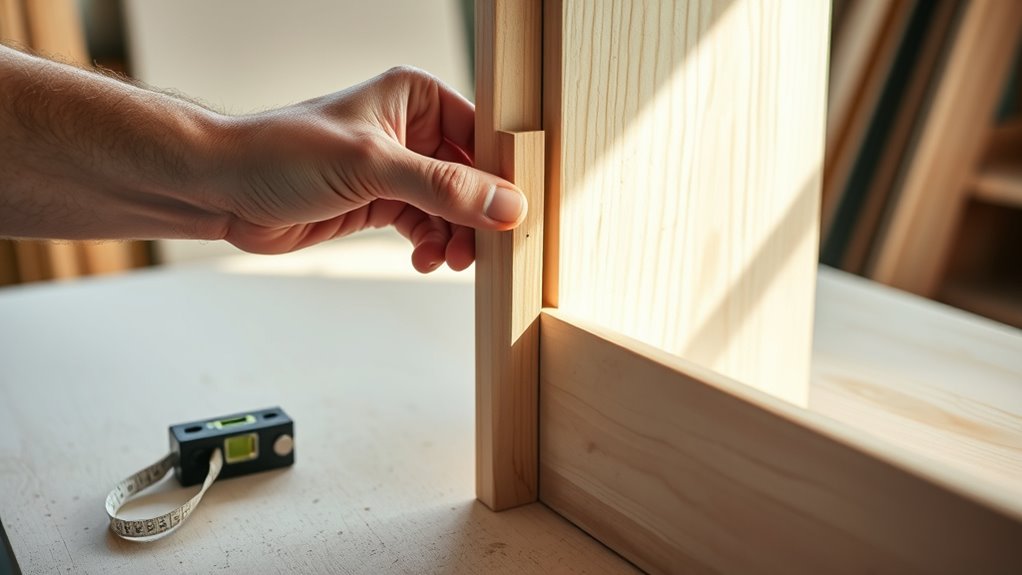
Before you commit to finalizing your alignment, it’s vital to double-check with a test fit. This step guarantees everything lines up correctly and prevents costly mistakes. During your test fit, carefully examine how components sit together and verify the alignment matches your expectations. A thorough final check now saves time later.
Consider these key points:
- Confirm that all parts fit smoothly without forcing.
- Ensure measurements align with your initial targets.
- Look for any slight misalignments that could affect performance.
Performing a test fit allows you to catch issues early, so your final adjustment is precise. Don’t skip this step — it’s the essential last safeguard before sealing your alignment.
Frequently Asked Questions
How Can I Improve Alignment Accuracy on Uneven or Irregular Surfaces?
They say “a stitch in time saves nine,” so start by surface preparation to smooth out uneven spots. Use precise measurement techniques like a laser level or dial indicator to guarantee accuracy. Clamp or secure irregular surfaces firmly before measuring. Regularly double-check your alignment points and make incremental adjustments. This proactive approach improves alignment accuracy on uneven surfaces, helping you achieve professional results every time.
What Are the Best Methods to Align Large or Awkwardly Shaped Objects?
To align large or awkwardly shaped objects accurately, use magnetic alignment tools to guarantee precise positioning, especially on ferrous surfaces. Combine this with laser guidance systems for real-time visual cues, helping you spot misalignments quickly. Secure the object firmly, and make incremental adjustments based on laser lines and magnetic markers. This combo simplifies complex alignments, giving you professional results even with challenging shapes or sizes.
How Do Environmental Factors Affect Alignment Precision?
Environmental factors like temperature fluctuation and ambient lighting can considerably impact your alignment precision. Temperature changes cause materials to expand or contract, leading to misalignment. Poor ambient lighting makes it difficult to see alignment marks clearly, increasing errors. To maintain accuracy, keep your workspace stable in temperature and guarantee consistent, adequate lighting. Regularly check and adjust your setup to account for these factors, helping you achieve precise, reliable results every time.
What Tools Are Recommended for Aligning Intricate or Delicate Components?
Ironically, when aligning delicate components, you’ll want the most precise tools available. Use laser alignment devices for precision measurement; they offer unmatched accuracy for intricate tasks. For even finer adjustments, opt for dial indicators or feeler gauges—these allow you to make delicate adjustments with confidence. These tools help you achieve perfect alignment without risking damage, ensuring your work remains precise and professional every time.
How Often Should I Verify Calibration During Long-Term Projects?
You should verify calibration regularly during long-term projects, ideally every few weeks or after significant shifts in environmental conditions. This calibration frequency guarantees your measurements stay accurate over time. Incorporate long-term monitoring by tracking calibration results and adjusting schedules as needed. By proactively checking calibration, you prevent errors and maintain precision, saving you time and ensuring consistent, reliable results throughout your project.
Conclusion
By mastering these simple alignment tricks, you’ll achieve precision with ease. Remember, accuracy isn’t just about tools—it’s about your attention to detail and patience. Will you take the extra moment to double-check your work? When you combine these techniques, you’ll find your projects turn out cleaner and more professional. So, next time you align, ask yourself: are you aiming for perfection, or settling for just good enough?