
TL;DR
A closet build works because it reduces reflections and echoes, not just soundproofing. Focus on strategic placement, layered absorption, and ventilation to create a quiet, effective space for recording or working with noise-sensitive gear.
Ever wondered why some closet setups sound way better than others? It’s not just about slapping foam on the walls. The real magic lies in where you put your dampening and how you control reflections inside that tiny space. For more tips, check out this article on acoustic treatment placement. If you’re serious about turning a closet into a vocal booth or a quiet rig room, understanding these details makes all the difference. You might also find this guide on acoustic dampening helpful.
This guide will walk you through smart placement, layered treatment, and practical tricks to get the most out of your small space. Whether you want crisp vocals or just keep your noisy rig from bothering the rest of the house, these tips will help you get there.
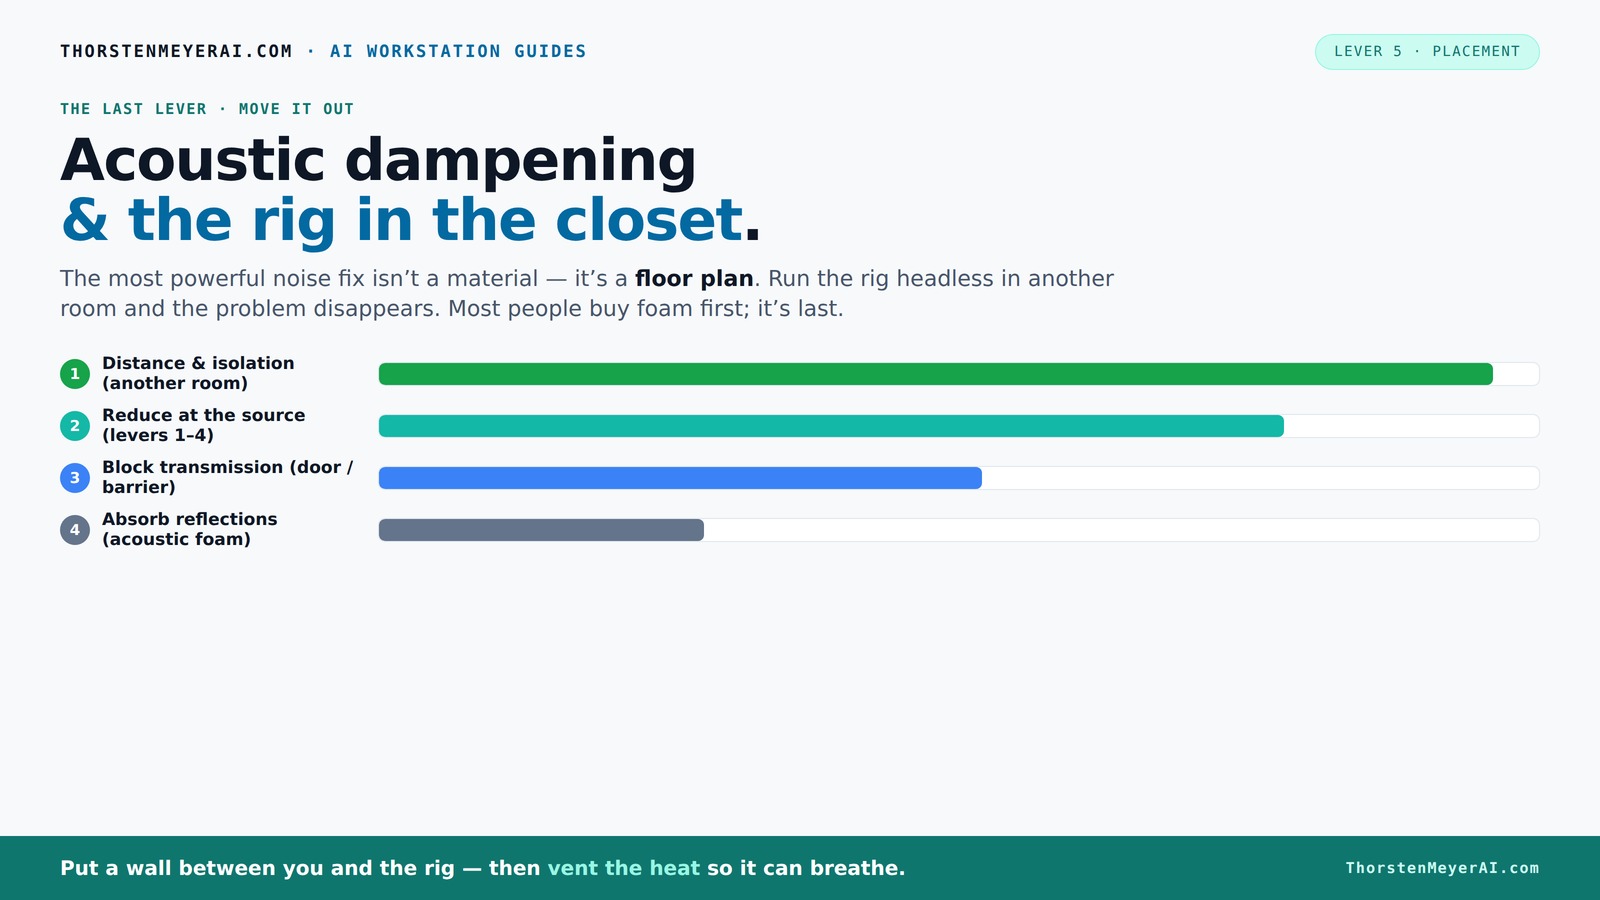
Acoustic dampening
& the rig in the closet.
The most powerful noise fix isn’t a material — it’s a floor plan. A rig you can’t hear because it’s in another room beats any amount of foam. Tap the approaches in Part 1 to see what actually works.
(another room)
(levers 1–4)
(door / barrier)
(acoustic foam)
Contain the noise, not the heat
Key Takeaways
- Layer absorption materials — multiple blankets, foam panels, and bass traps improve clarity more than just sealing gaps.
- Placement beats material type — focus on mic position and reflection points before stacking treatment layers.
- Ventilate enclosures — sealing a closet without airflow causes heat to trap, risking damage and increased noise.
- Seal gaps around doors and vents — small leaks drastically reduce sound escape and outside noise intrusion.
- Don’t expect perfect soundproofing — closet builds improve sound quality but aren’t a substitute for dedicated studios.

Focusound 52 Pack Acoustic Foam Panels 1" x 12" x 12" Sound Proof Foam Panles Soundproofing Noise Cancelling Wedge Panels for Home Office Recoding Studio with 300PCS Double-Side Adhesive
Soundproofing - Acoustic foam panels triangular grooves structure for better noise absorption, helps to reduce and absorb unwanted...
As an affiliate, we earn on qualifying purchases.
As an affiliate, we earn on qualifying purchases.
What Acoustic Dampening Really Means in a Closet Rig
Acoustic dampening isn’t just about blocking sound — it’s about controlling how sound bounces around. Think of it like smoothing out a rough echo chamber. In a closet, this means using soft, porous materials like blankets, foam, or clothing to soak up reflections and reduce harsh echoes.
It’s different from soundproofing, which tries to stop sound from leaving the room. Here, the focus is on making the sound inside clearer and less boomy. For example, hanging a thick blanket behind your mic or layering foam on the ceiling can tame the worst reflections, making your recordings sound more natural and less echoey.
Understanding this distinction is crucial because it influences your choices. Over-insulating with soundproof barriers when your goal is clarity can lead to a dead, muffled sound that lacks presence. Conversely, focusing solely on absorption might not contain enough sound leakage if your space is very open or has gaps. The key is balancing absorption and sealing to achieve the desired sound quality without sacrificing natural tone or creating an overly dead environment.

JZHLLA 2 Pack 72" x 40" Studio Large Sound Dampening Blanket, Sound Insulated Blanket Sound Absorbing Blanket with Grommets for Soundproofing Noise Reduction Light Blocker Basement Recording Studio
Sound dampening: Made of thick polyester fiber fabric; Recycled fiberfill inside; The Studio Large Sound Dampening Blanket weighs...
As an affiliate, we earn on qualifying purchases.
As an affiliate, we earn on qualifying purchases.
Where to Place Absorbing Materials for the Best Voice Recordings
Placement is everything. Start with your microphone—place it away from walls and reflective surfaces to avoid capturing early reflections that can smear your sound. Treat the wall directly behind the mic with a panel or blanket to absorb sound coming from behind, which helps reduce rear reflections that can muddy your recordings.
Next, focus on the side walls and the ceiling, where sound can bounce unexpectedly. Position foam panels or blankets at reflection points—these are spots where sound waves bounce directly into the mic’s path. Using a mirror can help identify these points visually: look for where the reflection of your mic appears on the walls and treat those spots specifically.
For example, if your mic is aimed toward a closet door, placing a foam panel or hanging a blanket over it minimizes sound bouncing back into the mic. Rugs and clothing on the floor also play a vital role—they absorb footstep noise and prevent sound from bouncing off hard surfaces. The goal is to create a ‘dead zone’ around your mic, where sound doesn’t bounce around and color your recordings, leading to clearer, more natural vocals.
Proper placement reduces the need for excessive treatment layers and improves the overall clarity of your recordings, making your setup more efficient and effective. You can learn more about acoustic dampening placement here.

VEVOR Portable Vocal Booth, 6.56 ft Height, Portable Recording Studio with Travel Bag, Mobile Tablet Stand, Thickened Soundproofing, Sound Isolation Booth for Echo-Free Vocals, Podcasts, Voiceovers
Say Goodbye to Echoes: Built with durable Oxford cloth and acoustic padding, this recording booth for the home...
As an affiliate, we earn on qualifying purchases.
As an affiliate, we earn on qualifying purchases.
How Much Treatment You Need — The Sweet Spot for Closet Walls
More isn’t always worse, especially in tiny spaces. Covering about 30-50% of your closet walls with absorption materials often hits the sweet spot for balancing sound control and natural room feel. Using thicker panels (at least 2 inches) on the ceiling and walls facing the microphone helps tame reflections effectively.
Adding bass traps in the corners is essential if you notice low-frequency issues like muddiness or boominess. Bass traps absorb the longer wavelengths that tend to accumulate in corners, preventing standing waves that can distort your sound.
For example, a closet with foam panels on the back wall, some on the ceiling, and bass traps in the corners can drastically reduce echo and low-end buildup. Layered absorption creates a more controlled environment, but overdoing it can deaden the sound excessively, making your voice sound unnatural or muffled. The tradeoff is between clarity and naturalness—finding the right balance depends on your specific needs and the acoustics of your space. Experimenting with different configurations helps you identify what works best for your voice and recording style.
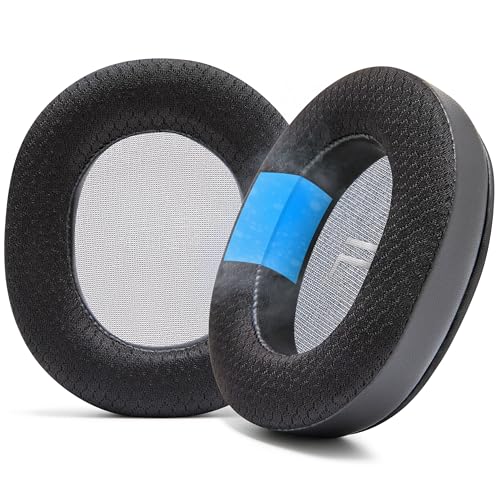
WC Freeze Rig 600/700/800/900 - Cooling Gel Earpads for RIG 600 Pro, RIG 700 HX, RIG 800 Pro, RIG 900 Max by Wicked Cushions - Boost Comfort, Thickness, & Sound Isolation for Epic Gaming | Black
Cooling Technology: Say goodbye to discomfort during long gaming sessions. WC FreeZe Rig 600/700/800/900 ear pads, compatible with...
As an affiliate, we earn on qualifying purchases.
As an affiliate, we earn on qualifying purchases.
Treat the Door and Gaps — Don’t Let Sound Escape or Leak In
Gaps around the door are a common leak point that can significantly undermine your acoustic efforts. For detailed strategies, see this guide on acoustic sealing. Using moving blankets, draft stoppers, or sealant strips can block sound from sneaking out or in, which is especially important if you want to contain noise or prevent external sounds from entering.
Hanging a thick blanket over the door frame with some weight or magnets can dramatically improve isolation. Sealing cracks around hinges, edges, and any small openings is simple but highly effective—think of it as plugging holes in a boat. Every gap you seal reduces the chance of sound leaking, helping you achieve a more controlled environment.
Tradeoffs exist: sealing too tightly might restrict airflow or make the space feel claustrophobic, so balancing sound isolation with ventilation is crucial. Properly sealing gaps enhances the effectiveness of your acoustic treatment without requiring massive structural changes, making your setup more efficient and less prone to external noise intrusion.
Floor and Corner Treatment — Tackling Low-End and Foot Noise
Hard floors reflect sound and amplify footstep noise, creating unwanted low-frequency energy and echo. To learn more about minimizing these issues, visit this outdoor gear and acoustic treatment resource. Using a thick rug or carpet can significantly reduce these reflections and absorb foot noise, leading to cleaner recordings. For example, a dense shag rug under your desk can cut down on footscrape and echo, helping to isolate your sound source.
In the corners, bass traps are vital for controlling low-frequency buildup and preventing muddiness. For more on this, see this article on corner treatment. When your closet sounds boomy or muffled at certain spots, adding bass traps in the corners helps absorb the standing waves that cause uneven bass response. This is especially important if you notice your recordings have a hollow or boomy quality.
Investing in quality corner traps and thick flooring materials can dramatically improve your room’s low-end response, making your recordings sound more balanced and natural. These treatments address the problem at its source—long wavelengths that tend to accumulate in corners—so you get a more accurate, tight sound without excessive echo or muddiness.
Limitations of Closet Booths — What They Can’t Do (Yet)
Closet setups are fantastic for improving vocal clarity and reducing echo, but they’re not a substitute for professional soundproof rooms. No matter how much foam or insulation you add, some sound will still leak through gaps, ventilation, or thin walls. Think of it like a focused echo chamber—optimized for internal clarity but not fully sealed or isolated.
For true soundproofing, professional studios use decoupled walls, double layers of drywall, and specialized sealing techniques. These methods prevent sound from passing through walls and floors at a much higher level than typical home treatments. However, for most home setups, a well-treated closet provides a significant improvement in sound quality without the need for costly renovations.
Understanding these limitations helps set realistic expectations. Your closet isn’t a soundproof vault; it’s a controlled environment that minimizes reflections and echoes, making your recordings clearer without complete isolation from external noise. Recognizing what it can and can’t do allows you to optimize your space without overinvesting or becoming discouraged.
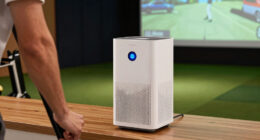
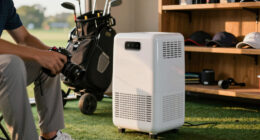
Ventilation and Airflow — Keeping Your Closet Cool and Quiet
A sealed closet traps heat, which can cause your gear to overheat and fans to produce unwanted noise. Proper ventilation is essential to maintain a stable temperature and ensure your equipment runs smoothly. Using passive vents or quiet exhaust fans allows hot air to escape without introducing noise into your space.
For example, a small duct with a silent fan can be installed to draw hot air out while drawing in cooler air. Some custom closet builds incorporate thermostatically controlled fans or ducted systems that automatically manage airflow, preventing heat buildup without sacrificing silence. Proper airflow not only protects your gear but also maintains a comfortable environment for long recording sessions.
Tradeoffs include the potential for noise from the ventilation system itself, so selecting quiet fans and strategic placement is crucial. Ensuring adequate ventilation prevents overheating, reduces fan noise, and helps your space stay comfortable, blending performance and peace of mind seamlessly.
Frequently Asked Questions
Does acoustic foam actually soundproof a closet?
Not quite. Acoustic foam mainly reduces echoes and reflections inside the space. It makes the room sound better, but it doesn’t block sound from escaping or entering. To truly soundproof a closet, you need barriers and sealing, not just foam.
Where should I place foam or blankets for vocals?
Start with the wall behind your mic, then treat side walls, ceiling, and door gaps. Focus on reflection points—areas where sound bounces directly into the mic. Proper placement is key to a clear, natural sound.
How much treatment do I need for a small closet?
Cover roughly 30-50% of the walls with 2-inch thick panels. Add bass traps in corners, and layer blankets or foam for extra absorption. The goal is to minimize early reflections without deadening the room completely.
Should I treat the walls, ceiling, or door first?
Prioritize treating the reflection points—walls behind the mic, side walls, and ceiling. Then address gaps around the door and sealing leaks. Good placement makes the biggest difference in sound quality.
Do I need bass traps in a closet studio?
If your room sounds boomy or has uneven low end, adding bass traps in the corners helps control low-frequency buildup. They’re especially useful if you notice standing waves or muddiness in recordings.
Conclusion
Turning a closet into a quiet, effective rig space isn’t about throwing in a bunch of foam. It’s about strategic placement, layered treatment, and managing heat. Think of your closet as a musical instrument — the right tuning and dampening make all the difference.
Remember: the goal isn’t total silence, but clarity. With smart choices, your closet can become a surprisingly professional-sounding space — quiet enough for voiceovers, music, and even some light mixing. Now, go build that perfect little sanctuary for your sound.